
 I am incredibly excited to announce the availability of cleaning services using my custom built Ultrasonic cleaning system! I have been testing this new system on my own records throughout the summer and have been extremely impressed with the results.
Ultrasonic cleaning has long been thought to be the single most effective way to clean records. It is what inspired me to create this site and offer my services to vinyl collectors and enthusiasts curious to see what it can do for their records. My obsessive desire to get records as clean as possible has lead me to continue my research after first purchasing an Audio Desk Systeme, arguably the best commercially available cleaning unit on the market.
The Audio Desk provided great results, but was also a piece of equipment that I was often frustrated with. In the Pro column, it quickly cleaned and dried a record, allowing you go from opening the sleeve to turntable in under 15 minutes with a squeaky clean record. The Con colum soon started to add up for me: multiple moving parts that required frequent replacement and adjustment (micro fiber barrels, squeegee wipers, foam sponge, cleaning fluid); only being able to clean a single record at a time; the fan pushing water droplets onto the label…
This ‘on demand’ cleaning is what makes the Audio Desk popular with most collectors who want the instant gratification of cleaning a record to then immediately play. Unfortunately for me, I am not your average collector. My obsession with vinyl has albums constantly arriving to my home needing a thorough cleaning. This is before even considering all the records that clients send in to be cleaned. I’ve long wanted a way to streamline the ultrasonic process and clean multiple records at once.
 I had been coming across a number of different multi-record cleaning options such as the Vinyl Stack which allowed for cleaning three-four at once. You had to purchase your own tank, which added to the daunting amount of research. Other DIY-looking units seen in YouTube videos and on forums came across as half-baked Rube Goldberg machines that I didn’t feel confident in. It was around this time that I began reading The Vinyl Press and began a correspondence with Bill about cleaning, other record related concerns, and more important matters such as the best Italian restaurant in Brooklyn Heights. Like me, Bill is fastidious about cleaning and began hosting one of the best single resources dedicated to record cleaning on his site, featuring guest posts of experts on top of his own anecdotal research. I eagerly suggest you check it out if you’re not already bored of my ramblings here.
It was here I came across Tima’s DIY RCM, which I later used as the template for my own system. I spent the next year and a half following Tima’s updates and posts, and began to slowly ponder building a version of this machine for myself, stashing away the funds for the new components. I finally took the plunge this past June, sourced all the material, and I was up and running by early August. I’ve spent the subsequent two months experimenting and fine-tuning performance, listening to A/B tests of every possible cleaning permutation to see if this setup was actually delivering the results that many others had seen. I was able to clean a hundred records in the first weekend of action – it definitely passed the test when it came to quantity. So how was the quality?
Without being too hyperbolic or putting on the hard sell, the results blew me away. I concentrated on records that I had recently cleaned using my normal process of vacuum cleaning followed by a session in the Audio Desk. As many of these are part of the collection I have been selling, I had been taking notes when play grading and had the perfect ‘before’ records to work with. Most records that went for a second cleaning in the new DIY system saw a distinct improvement in playback with decreased areas of surface noise in places I had previously noted it.
My anecdotal experience showed me across the board improvements, both in the experience of cleaning a large number of records and in how clean they were. So what is the science behind these results? I wanted to make sure I wasn’t hearing a placebo effect (I try not to dabble in the darkest reaches of audiophilia, so I won’t confirm or deny if I heard not only a lower noise floor, but better bass response like many claim). This DIY system is based on years of Audiophile tweaks and R&D as popularized on the Audio Nirvana forum that was the genesis of Tima’s wonderful step-by-step guide. These guys have done a far better job of describing the scientific principles–both practical and specific–behind ultrasonic record cleaning than I ever could.
For me, an important technical improvement in this system is the additional time the records can spend in the bath. Both the Audio Desk and KL-Audio units only allowed for a maximum of 5 minute contact with fluid in their cleaning cycles. The records spin fairly quickly, and don’t seem to have significant enough time under water to reap the full benefits of cavitation. The Kuzma rotisserie has variable power settings to alter the speed at which the records rotate, and I have been able to experiment with both the speed and the length of the bath, settling on one RPM of the record within a 20 minute bath. The sweep and pulse functions that vary cavitation allow for cleaning both the surface of the record, and deep into the grooves. Heating the water to a warm-but-not-hot 30 degrees C (86 degrees F) brings it to the optimal temperature for cavitation, while still being completely safe to the vinyl.
What I have come to find is the most important difference between the commercial cleaners and this system is the filtration of the water. I was unaware of just how quickly the water in the Audio Desk would need changing because of the dissolved particles that are a byproduct of cavitation cleaning debris out of the grooves, and how poor it’s ‘filter’ sponge was at removing them. After a while I would be cleaning with ‘dirty’ water, with no way to quantify if this was returning contaminants to the records before they were removed from the machine.
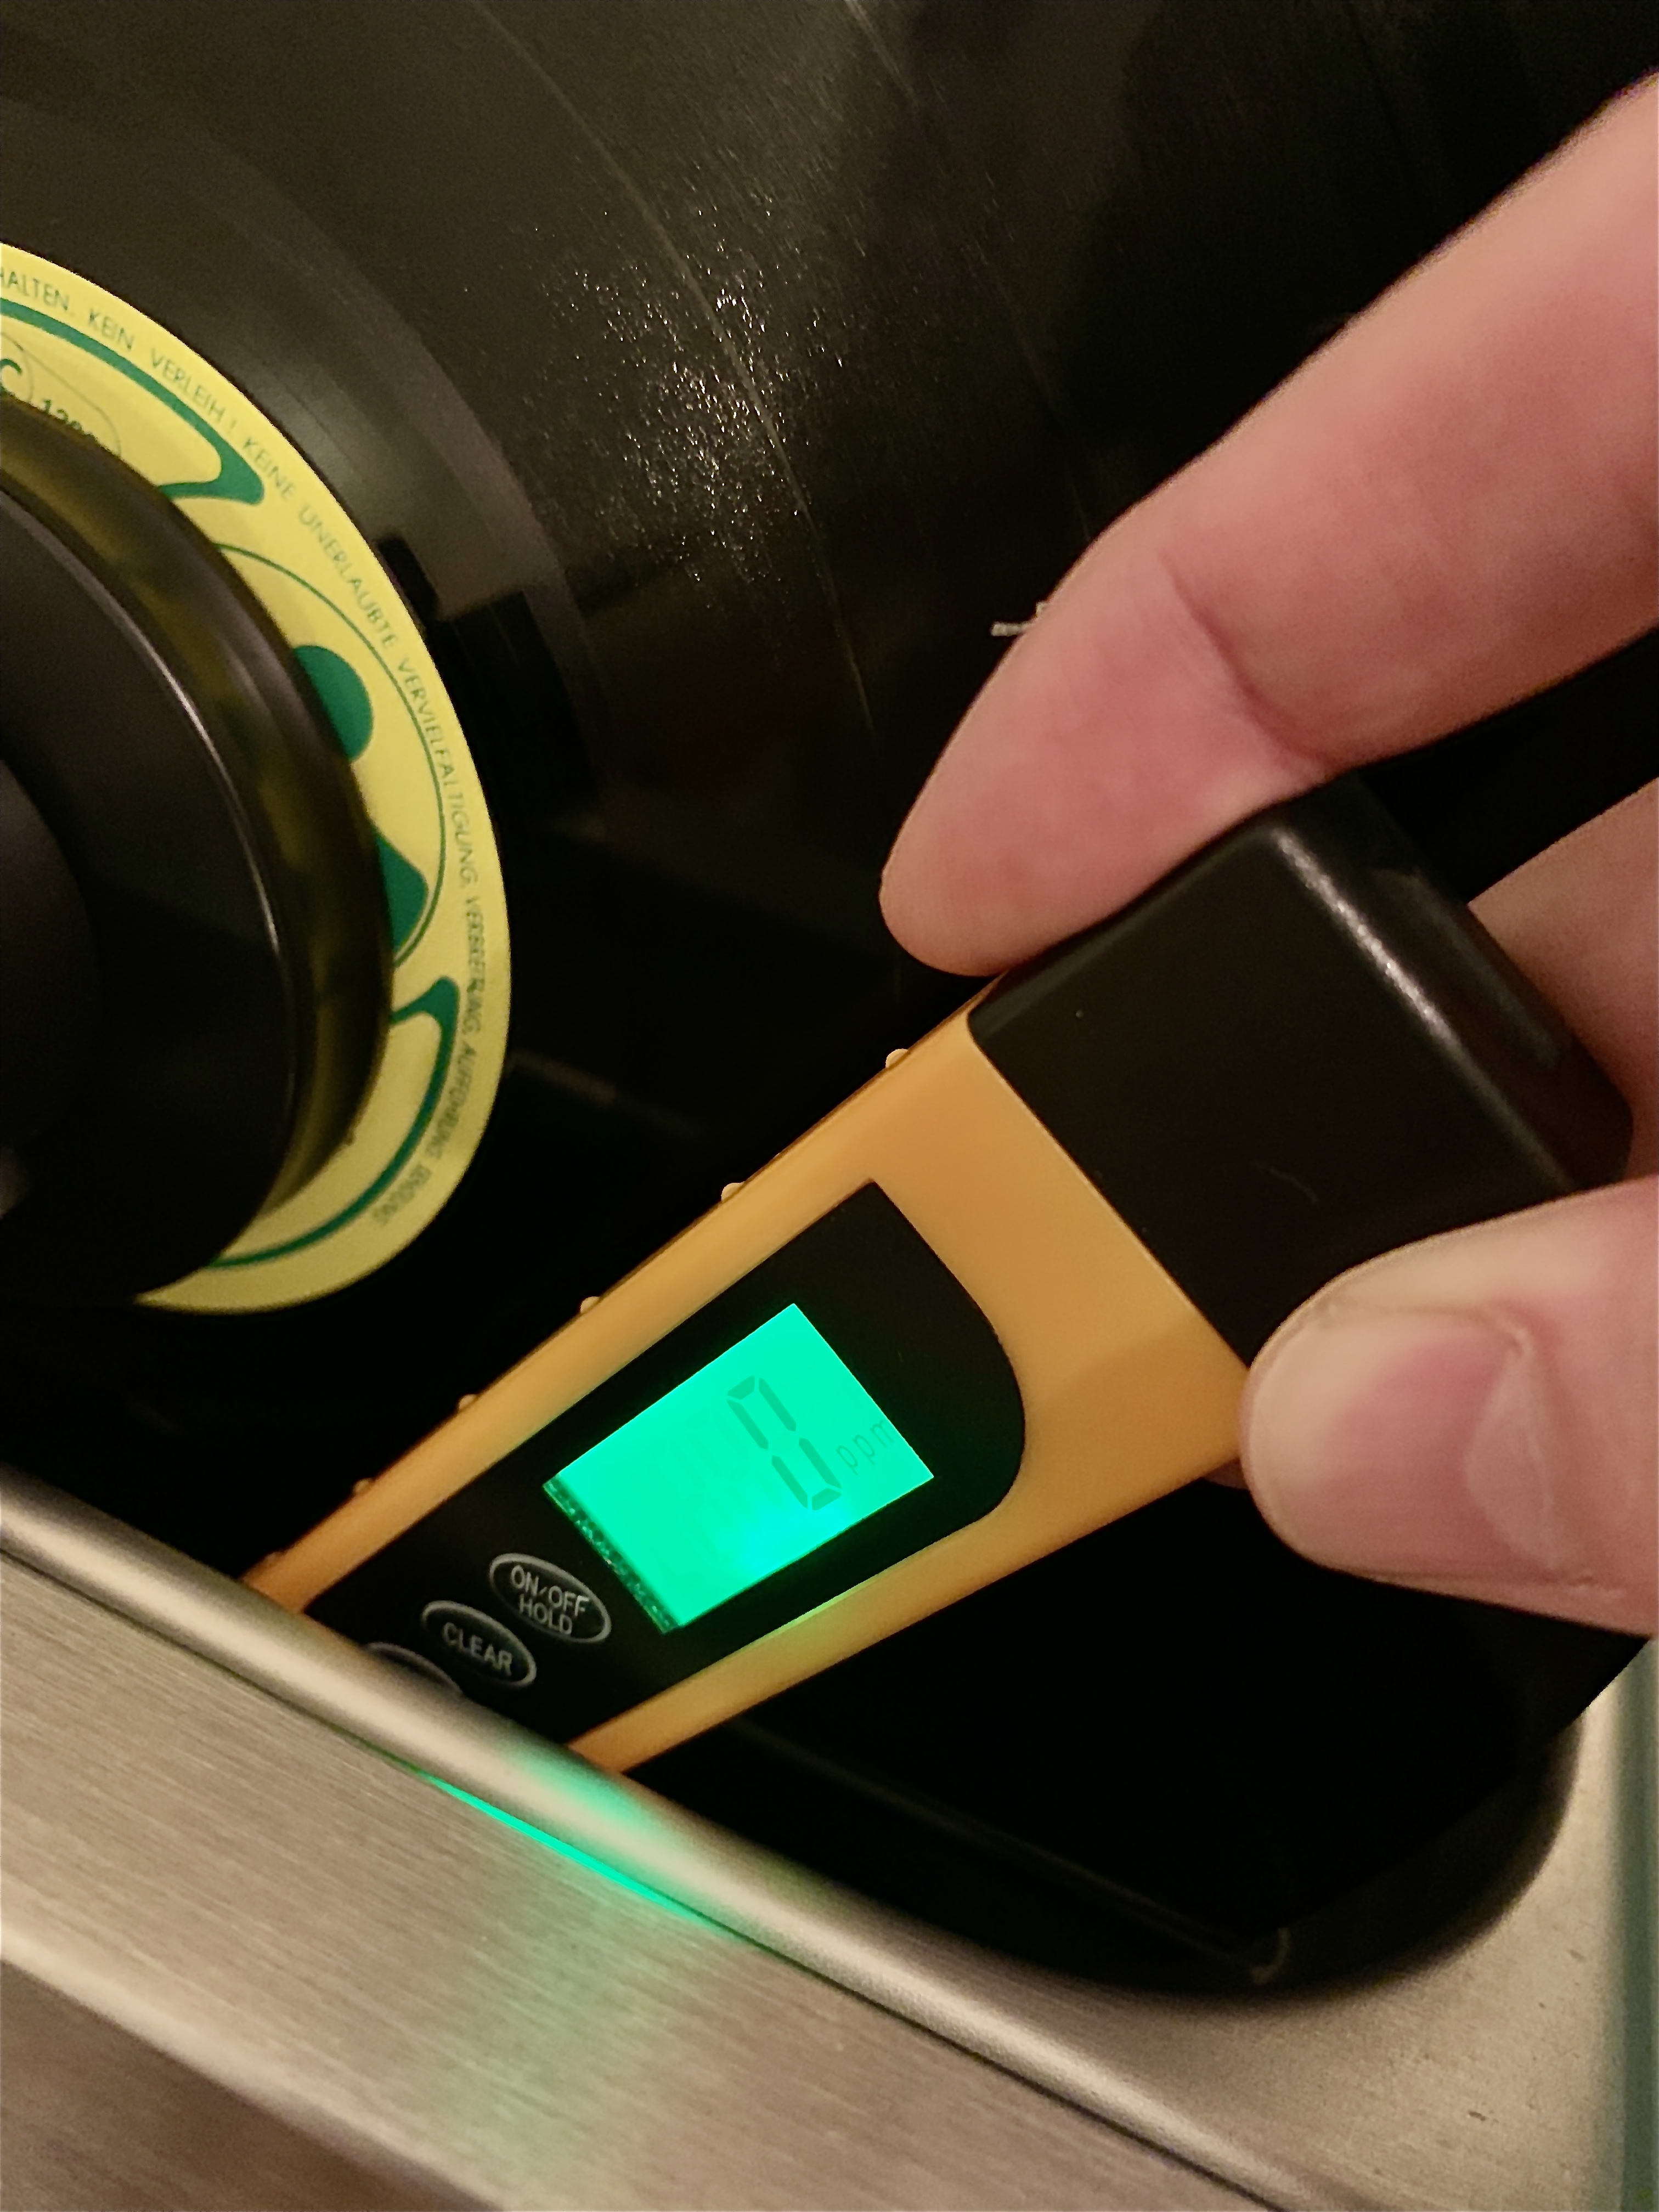 In this new system the water is continuously pumped through a 0.35 micron filter to prevent the dissolved contaminants from returning to the records before they are removed from the tank. I also took the advice of getting a TDS Meter to measure the total dissolved solids. But I haven’t bought the lab coat. Yet. Now I know exactly when to change out the water in the ultrasonic tank for maximum performance (I also began doing this with the water in Audio Desk months ago).
I use a diluted cleaning solution of 99.9% pure isopropyl alcohol and Ilfotol wetting agent for the surfactant; this is solely to allow the water and the bubbles produced during cavitation to get as deep into the grooves as possible, while still remaining neutral to the vinyl itself. The heavy duty scrubbing and enzymatic bath still takes place during the vacuum cleaning stage. This solution evaporates quickly, and because of the filtration, there are no dissolved particles left behind on the vinyl.
When the cycle is done, the records are removed from the bath, and the spindle is set at a 45 degree angle to air dry. I use a small 4” fan to circulate air around them to help them dry. A small amount of airborne particles will inevitably end up on the records as they dry, but these simply wipe off with a carbon fiber brush and never get past the surface.
Not only has this new cleaning method improved the quality and quantity of cleaning I can do, it also allows me more time to listen to records. The 20 minute bath is conveniently similar to the average length of the album side I can listen to between baths. I will now be offering this as the sole method of ultrasonic cleaning service I provide. If you’re somehow still reading, I hope I can help clean your records to this outstanding standard in the future.
I would like to again express my sincere thanks to Tima, Bill, and everyone else who has contributed to the collective online wisdom in the vinyl community that helped develop this DIY RCM.